First time buying this product and I LOVE IT! Lovely to work with and good colour range.
High quality beautiful product. Great customer service, loyal customer here!
August 06, 2020 0 Comments
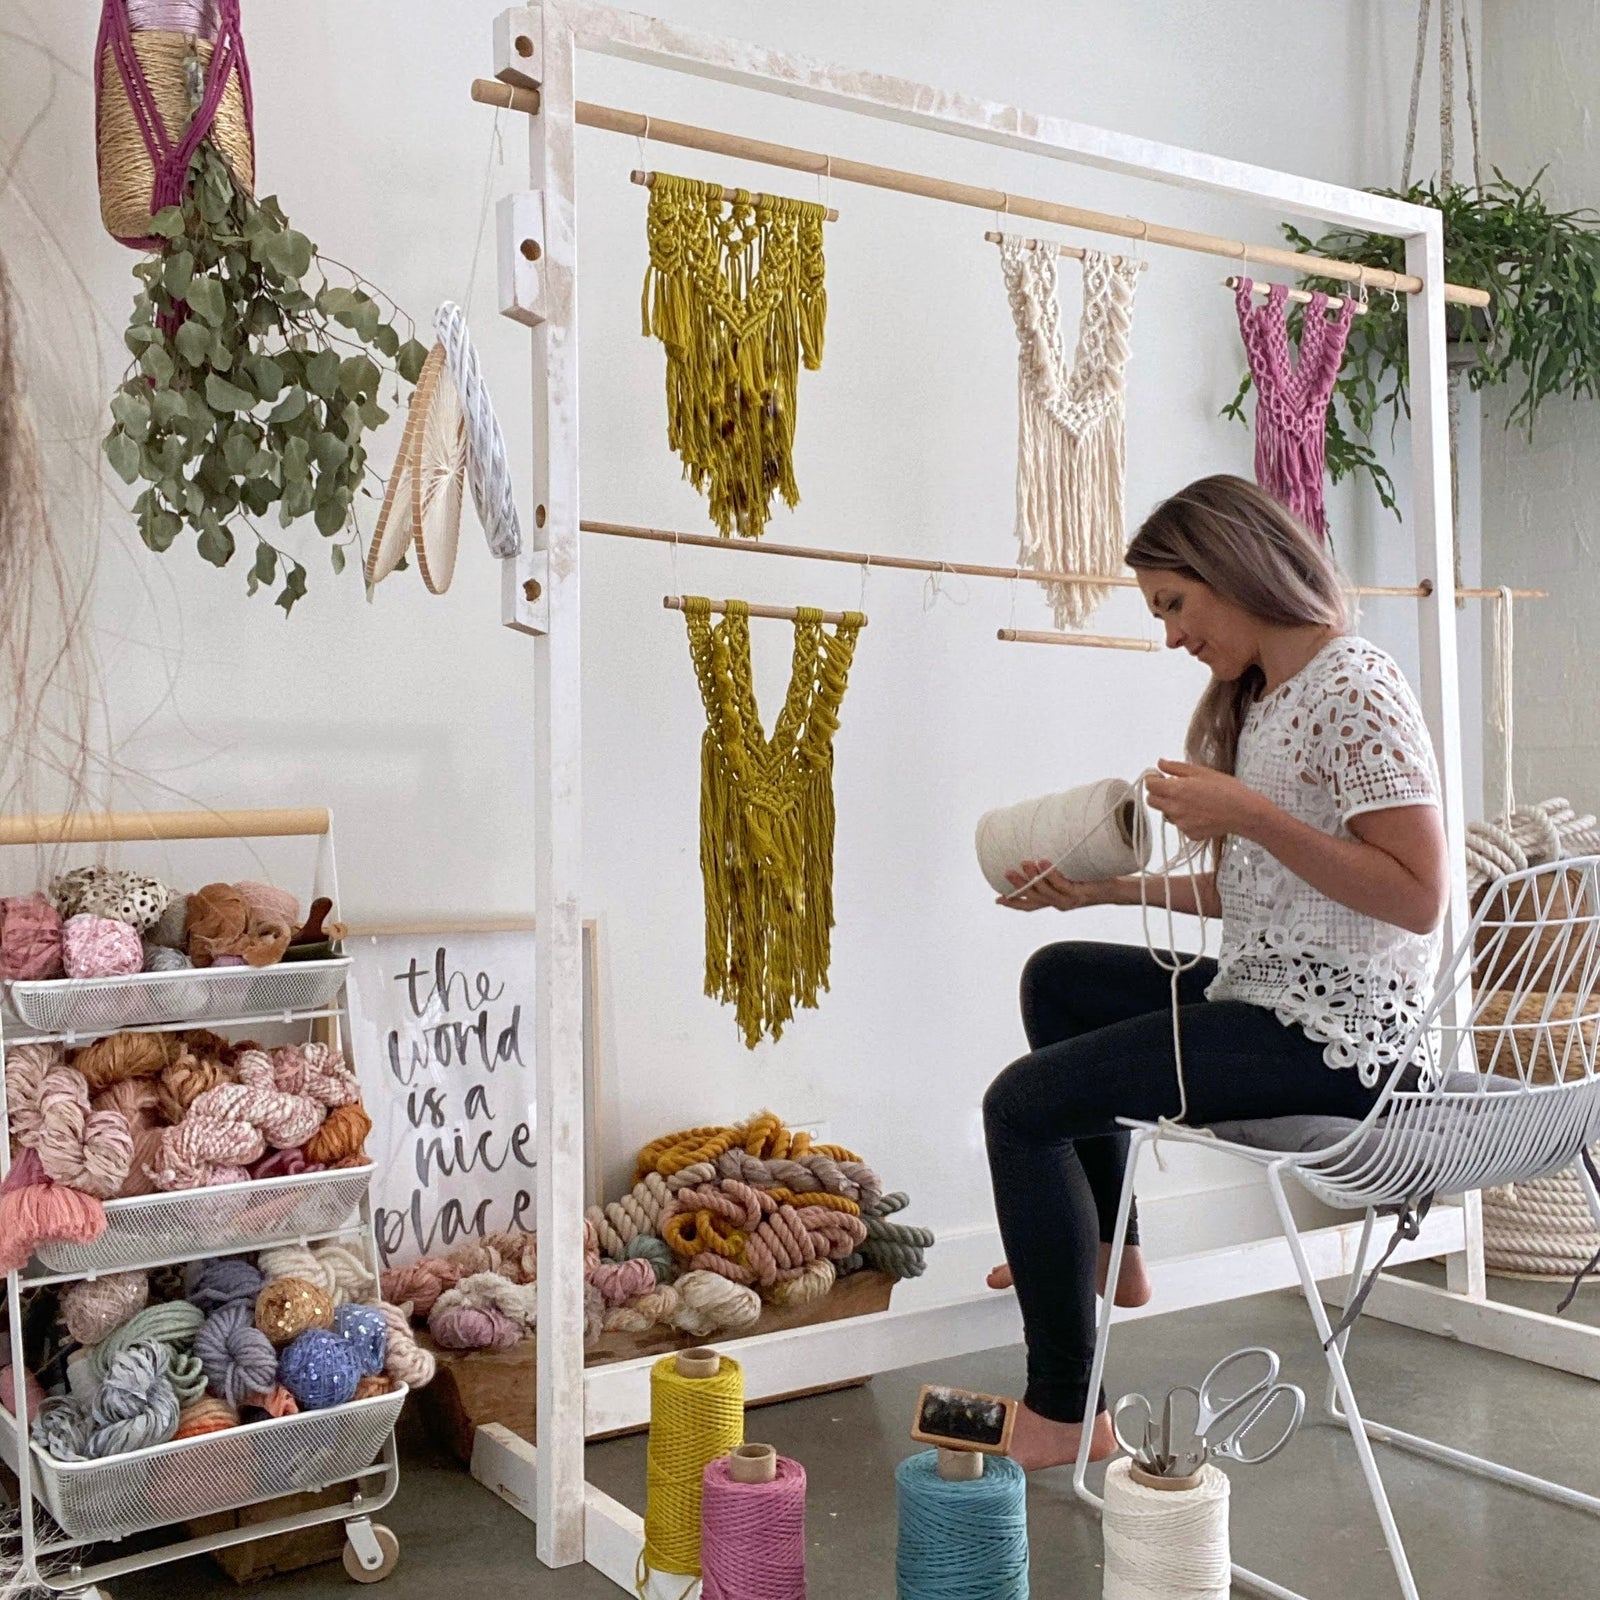
As a thriving textile artist, Mary Maker founder Brydie has sparked a passion for the craft of weaving – teaching those across beginners and expert skill levels. Driven to the art form through a highly refined process that she’s been able to establish over the years, her love for the craft has spread to students across Australia and beyond, giving them the means to pour soulful expression into vibrant, fibre creations.
Like all crafts, though, weaving takes a little time to grasp the concept but once you do, students are always enthralled with the work. There’s something about capturing your imagination within the fibres of your warp and weft.
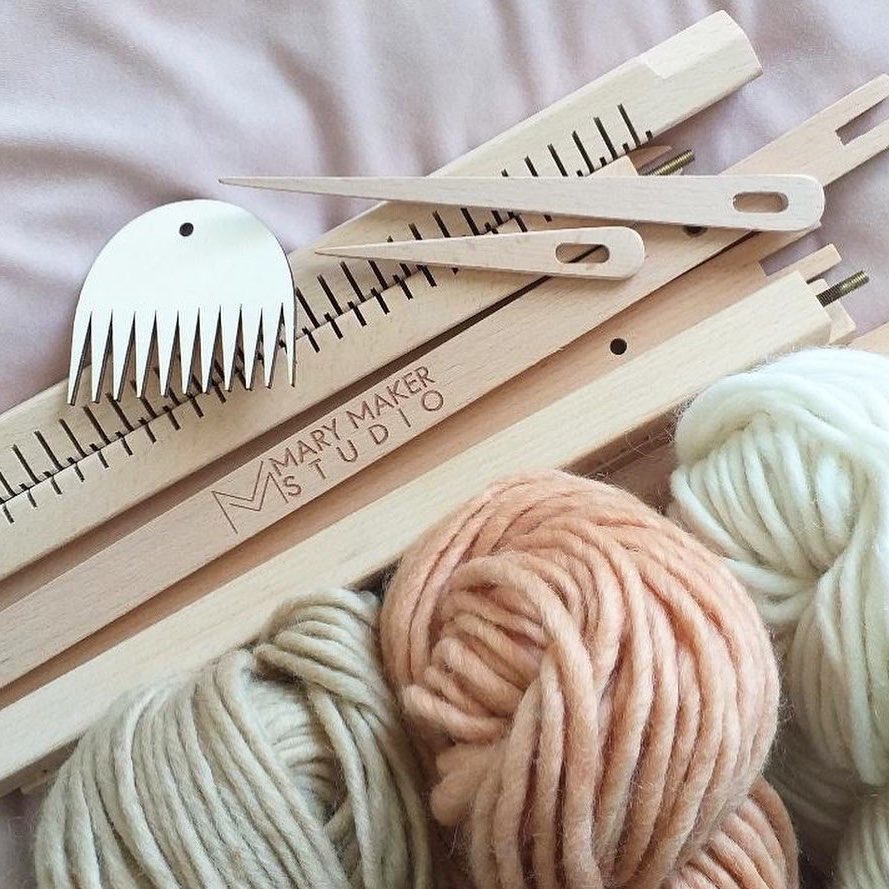
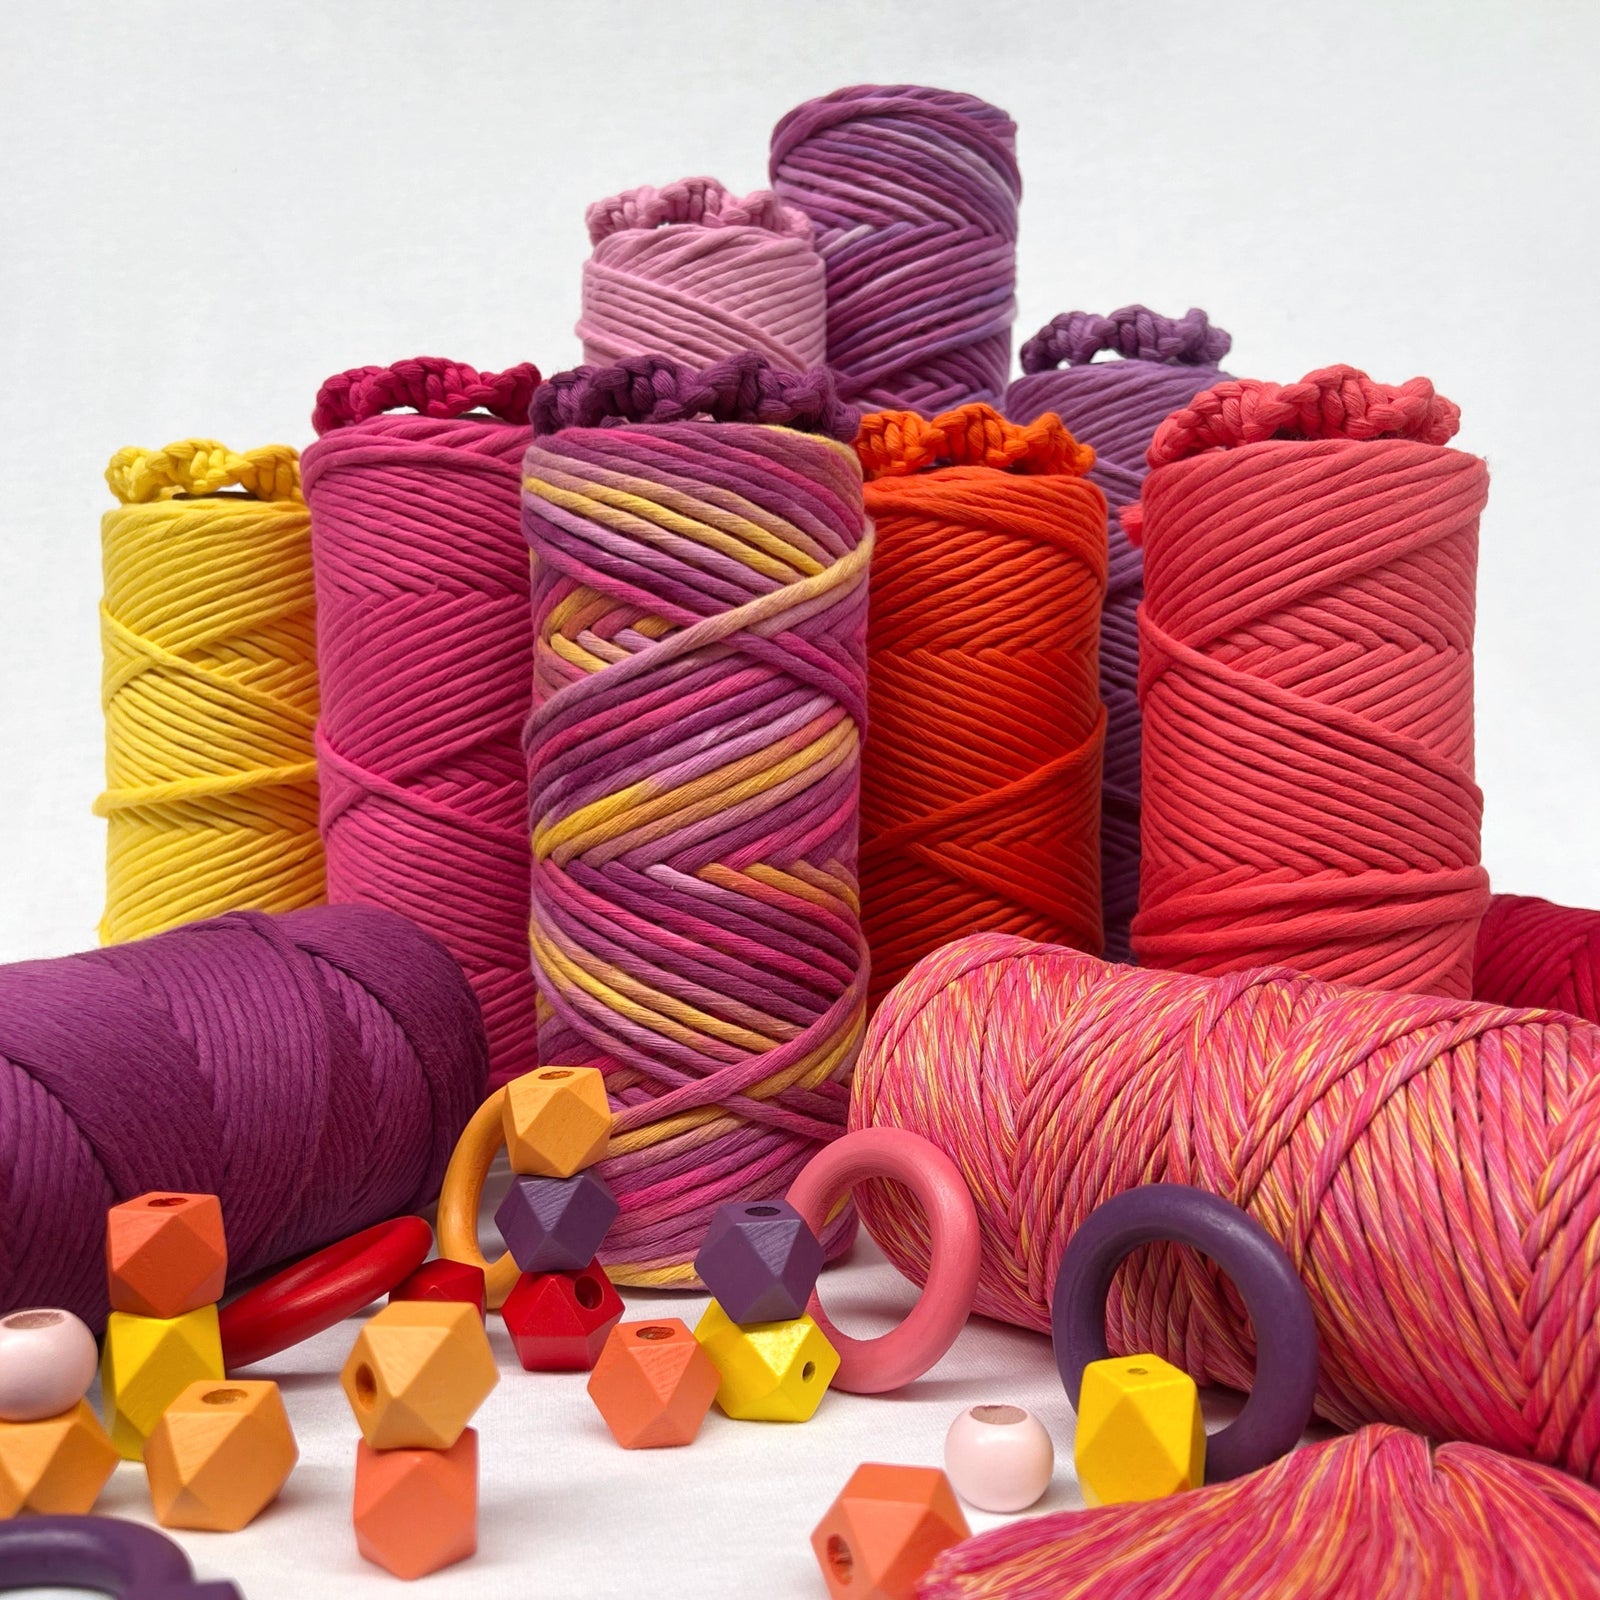
Weaving is done on a useful tool called a loom. It’s essentially a fixed frame that weaving fibres (or even cotton rope) are woven throughout. While beginners are sometimes better to start with more traditional fibres, you’ll soon find yourself seeking out more luxe fibres to work with as your skillset and creativity evolves. Once you’ve got the initial techniques in place, using mediums like weaving ribbons and art yarn to express your creativity can completely redefine and innovate your project.
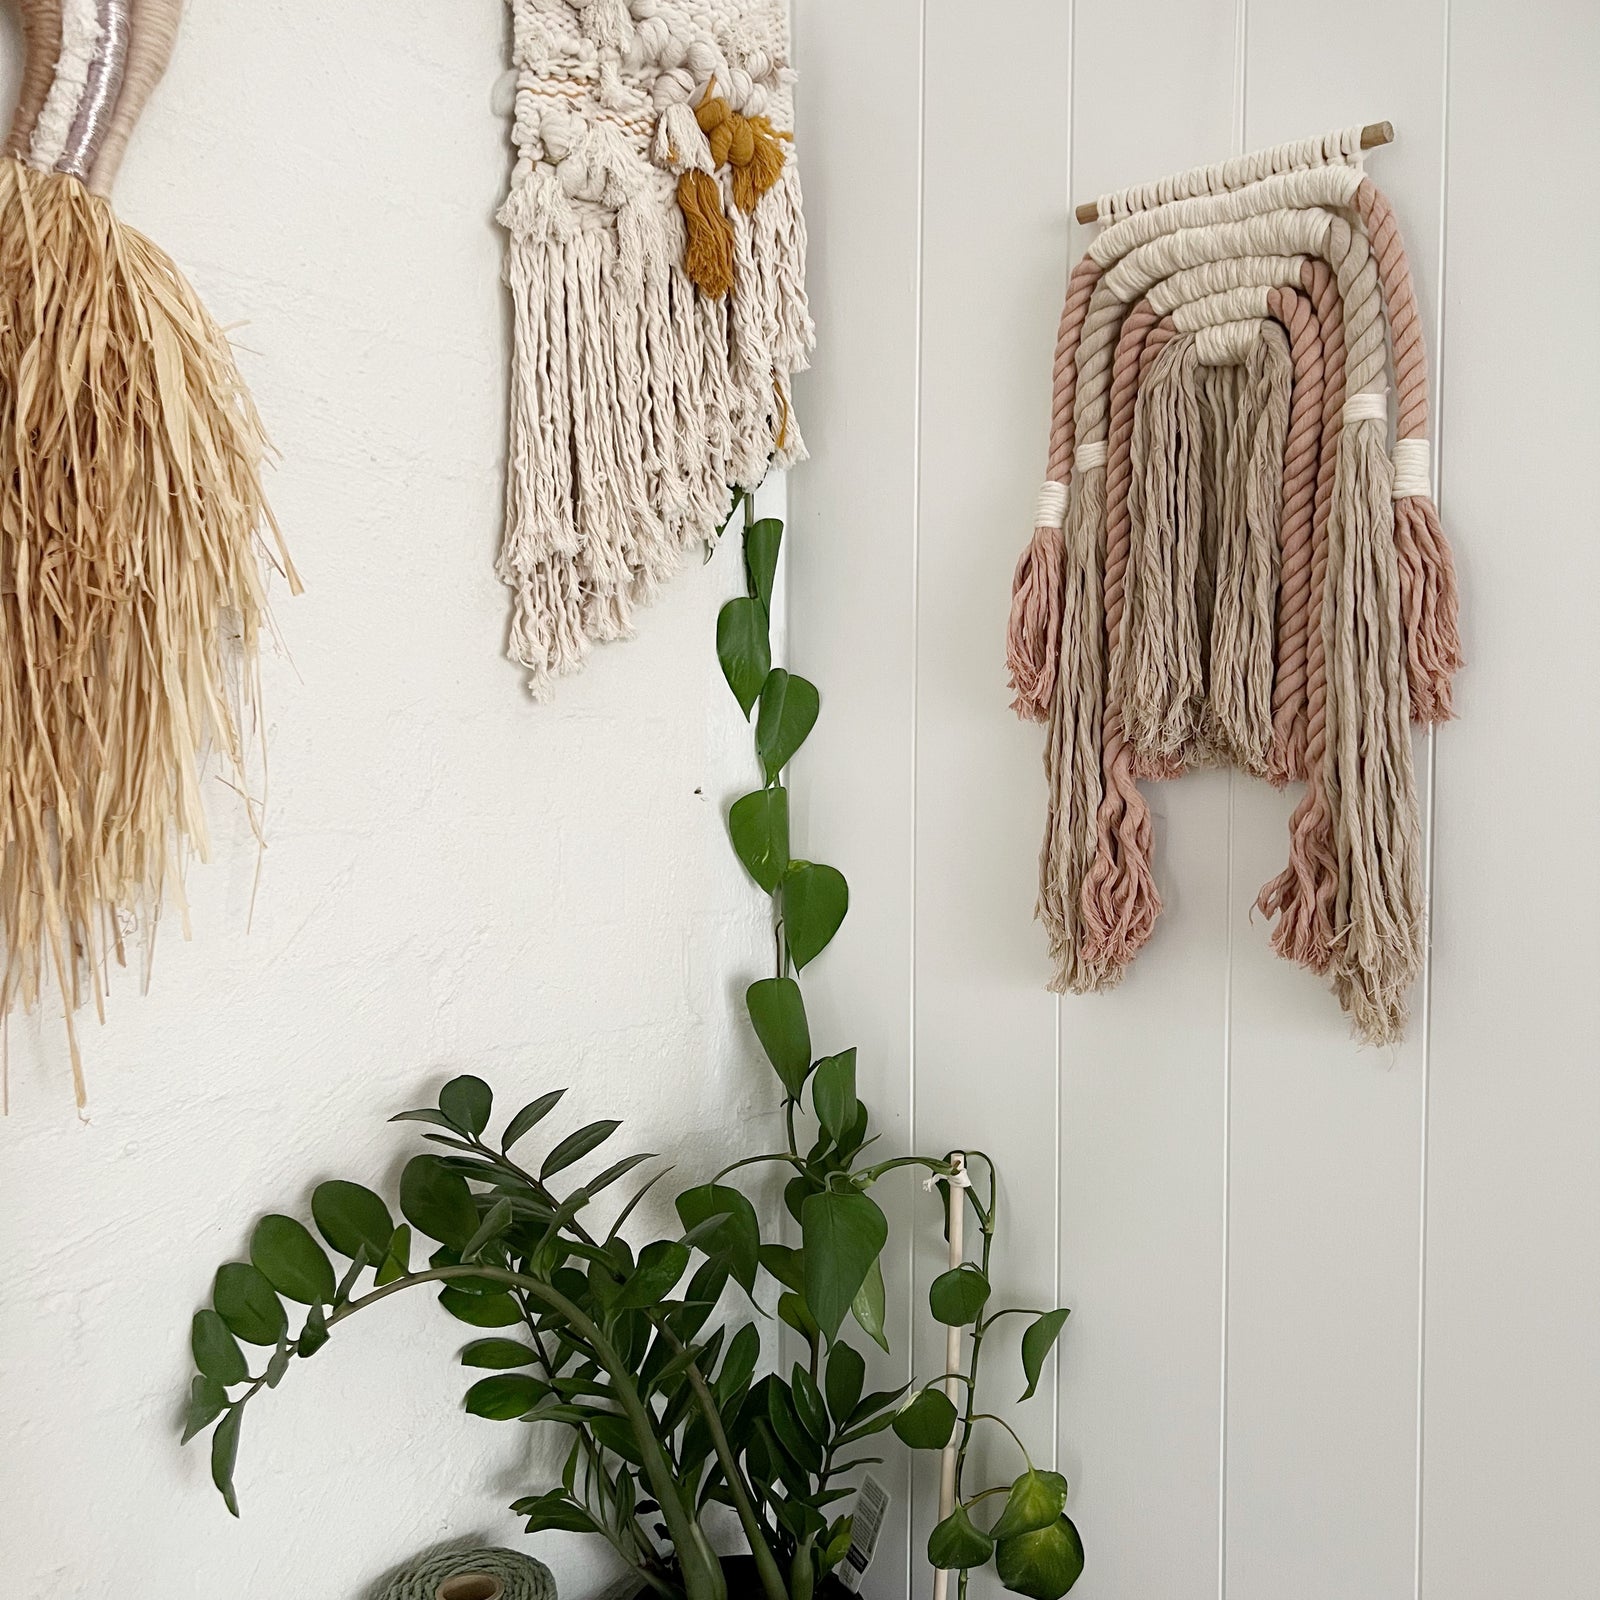
Ultimately, there’s no shortage of materials to use in your masterpiece these days.
Okay, so first thing’s first. When learning how to use a weaving loom, as we call it, you’ll need a few things on hand:
To set your loom up. All looms will come with easy to follow set up instructions. Most looms only require a few screws for construction, enabling you to get started within minutes.
The Warp: Once your loom is set up, take your warp thread to the bottom left hand side of your loom and wrap it around the first tooth. You can wrap this around a few times and secure with a knot. You will now take the warp thread to the top of your loom, wrap around the first top tooth and then make your way back to the bottom, wrapping around the second tooth. This will be repeated until you reach the end, here you will secure by once again wrapping it around the loom and securing with a knot. You have just created what weavers all ‘the warp’
Note: The warp is the very foundation of your work, so be sure to take special care when forming them, as your piece will depend on just how well the accuracy balances. It must be tight, but not too tight it’ll snap, yet not too loose that it’ll fall off the loom. You will soon work out the perfect tension for your weavings.
The Weft: Grab your chosen weaving fibres and tie it around the first warp thread, then place it behind the second warp thread, then in front of the next; alternating until you reach the opposite side. From there, you work in reverse, creating a pattern known as a tabby weave. All that’s left to do is to pack the weft thread down with a fork or wide comb and repeat the process. This simple and effective technique is perfect for beginners and looks fabulous when you mix up your weaving fibres.
The first thing to know about beginner weaving techniques is that they revolve around your warp and weft technique.
It is advised to try the “bubbling” technique when you’re first starting out. It’s all about taking your weft threads through four – six warp strings at a time using a shuttle stick or needle, creating a loose arc. Once you reach the end of your row, you will have many arcs, here you will pack them all down adjusting tension if you need. This bubble technique ensures your weft is not too tight which can make your weave be distorted (pulling in from the sides)
It is easy for beginners to evolve this tabby weave technique. Weave over one warp thread and then under two, then over one and under two right to the end. On your return on the next row you can do this in repeat. Under one and over two. This simple change, when completed with a mixture of fibres will create a beautiful polished weave, and a great way to gain the confidence to explore your techniques n the beginning.
Weaving techniques are best perfected through practice, and under the guidance of a trained professional. We highly recommend using the available resources (and workshops) at Mary Maker Studio to set yourself up on the right track,
Learn everything you need to know about how to weave with the spirited guidance of Mary Maker’s creator. A prominent textile artist and vibrant educator. For more information on our sessions and supplies, get in touch by sending Brydie an email at hello@marymakerstudio.com.au.
October 06, 2022 0 Comments
May 02, 2022 0 Comments
March 21, 2022 0 Comments
First time buying this product and I LOVE IT! Lovely to work with and good colour range.
High quality beautiful product. Great customer service, loyal customer here!