First time buying this product and I LOVE IT! Lovely to work with and good colour range.
High quality beautiful product. Great customer service, loyal customer here!
April 22, 2020 0 Comments
Free DIY Macrame Rainbow
Hello and Welcome.
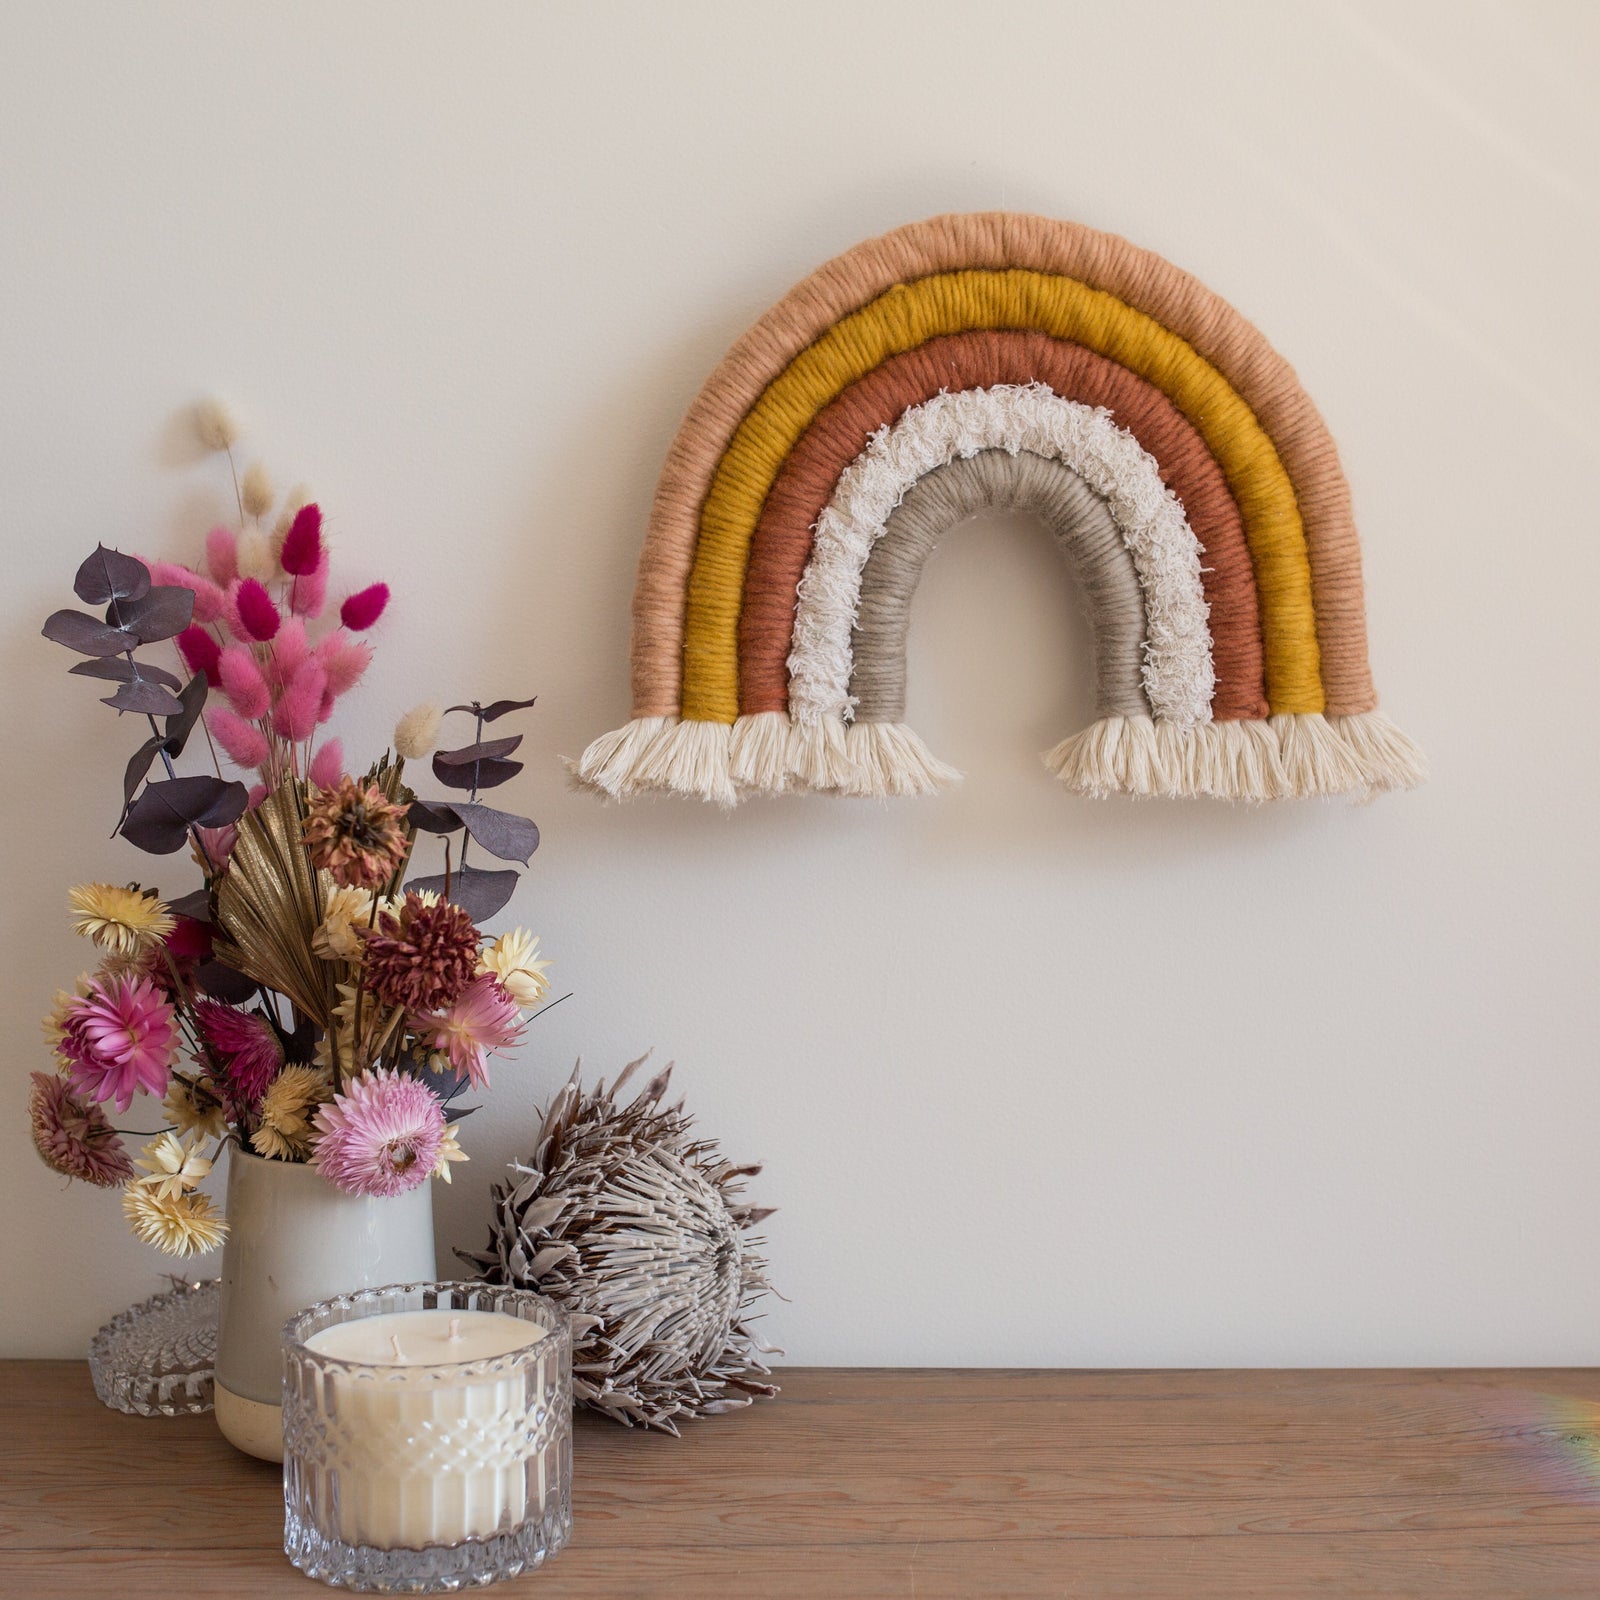
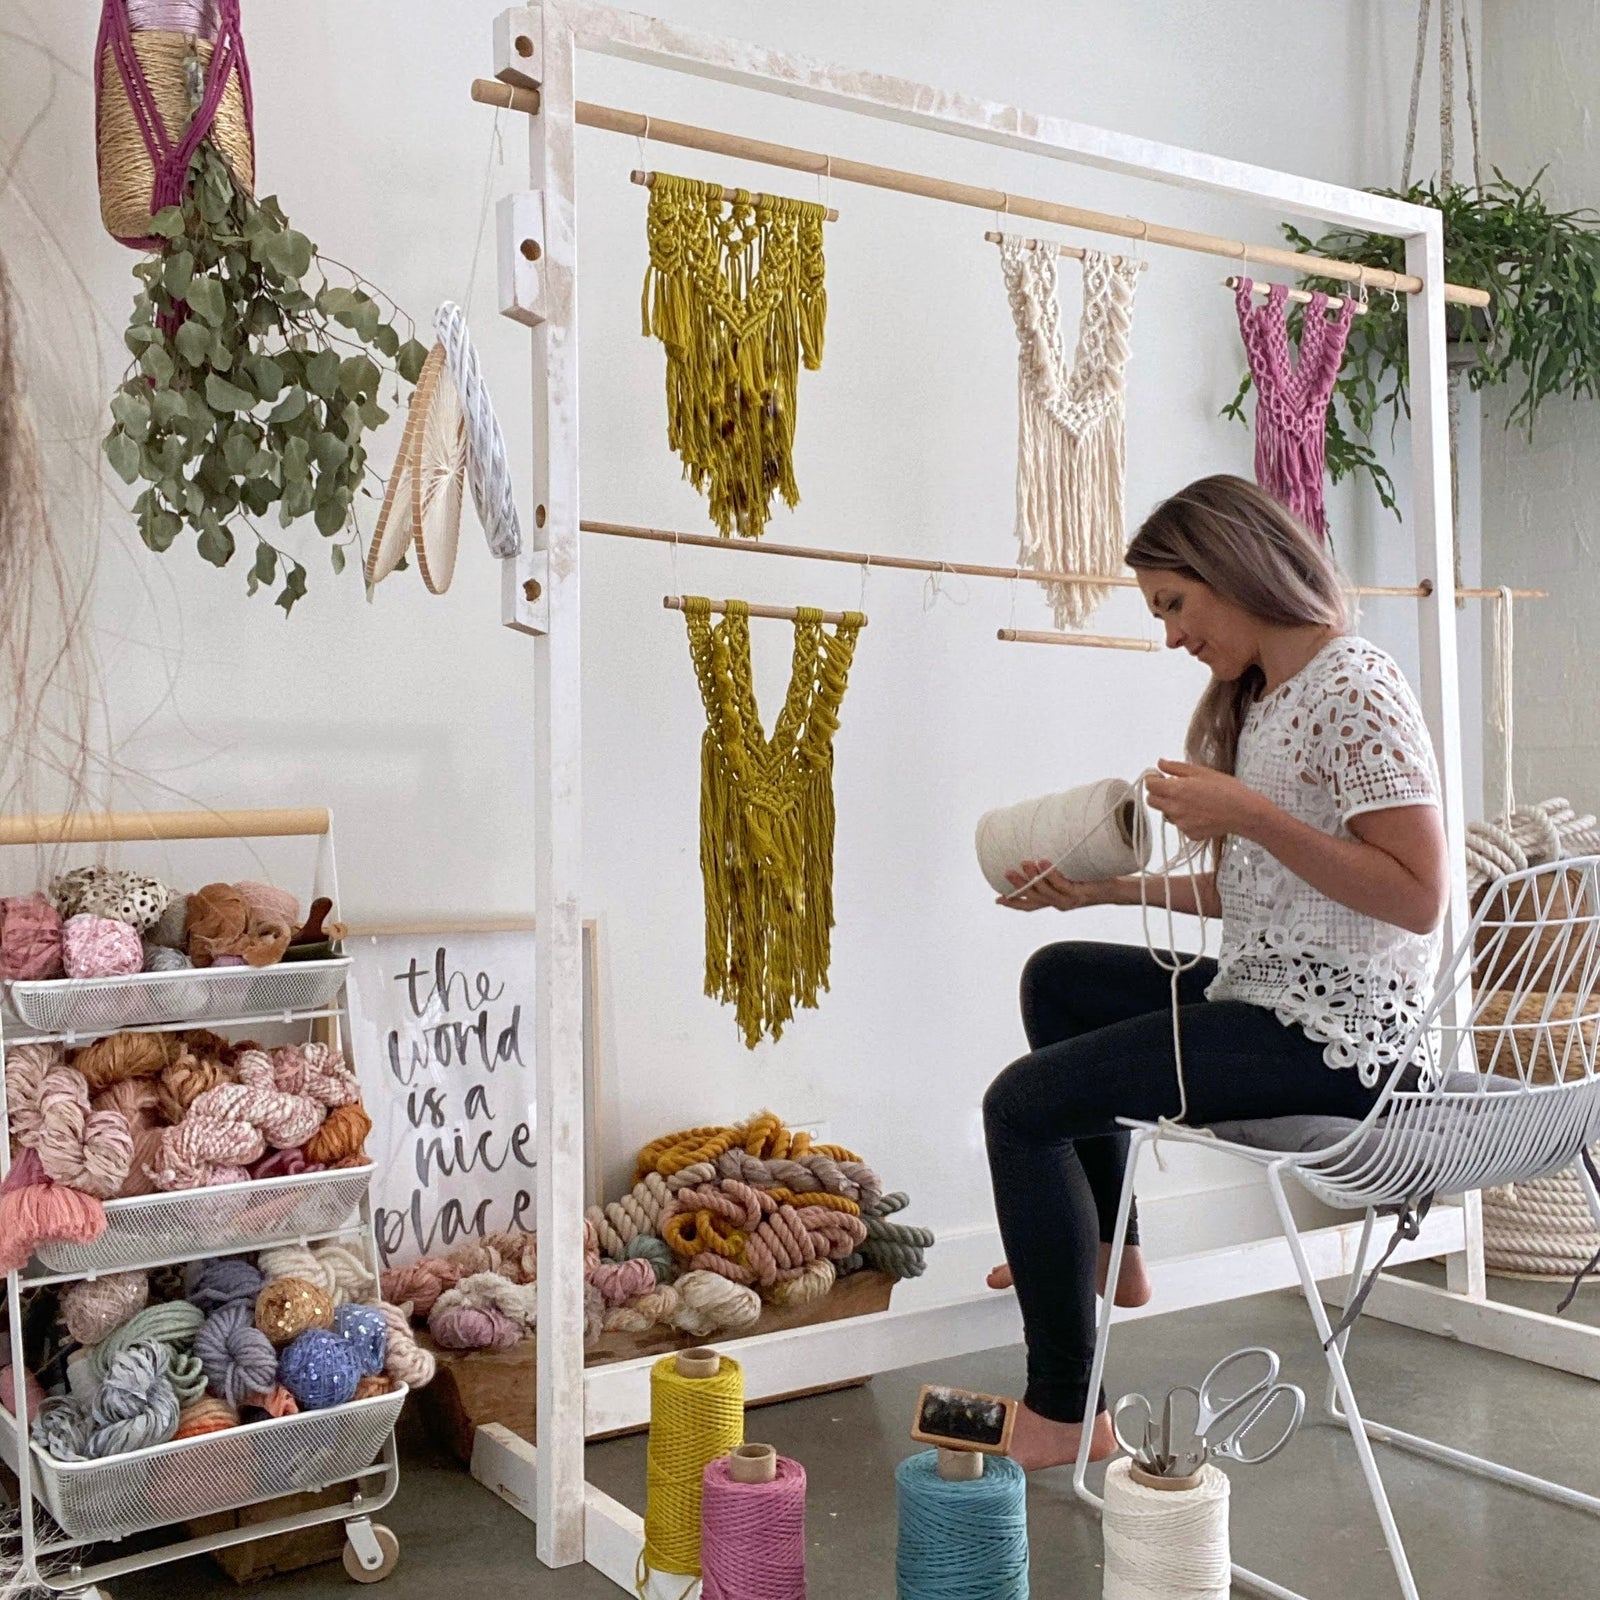
I have created a free Macrame Rainbow pattern for you to get your creative juices running. This is a fun one to begin with if you are new to macrame but i warn you, it is highly fun, addictive and you'll be wanting more soon! If so, reach out! I am a Visual Arts Teacher who specialises in fibre art, I have taught thousands of creatives both in person and online the joy of handmade, encouraging you to lean into that niggle of colour and craft.
Step One: Gather Materials.
Step Two: Prepare your fibre materials.
Rope:
Lay it flat to form the shape of a rainbow prior to cutting to avoid waste.
Once you have your shape, cut into x5 pieces.
We will use the following lengths from outside to inside curve in our rainbow.
64cm – 56cm – 48cm – 40cm – 34cm
Thick Yarn:
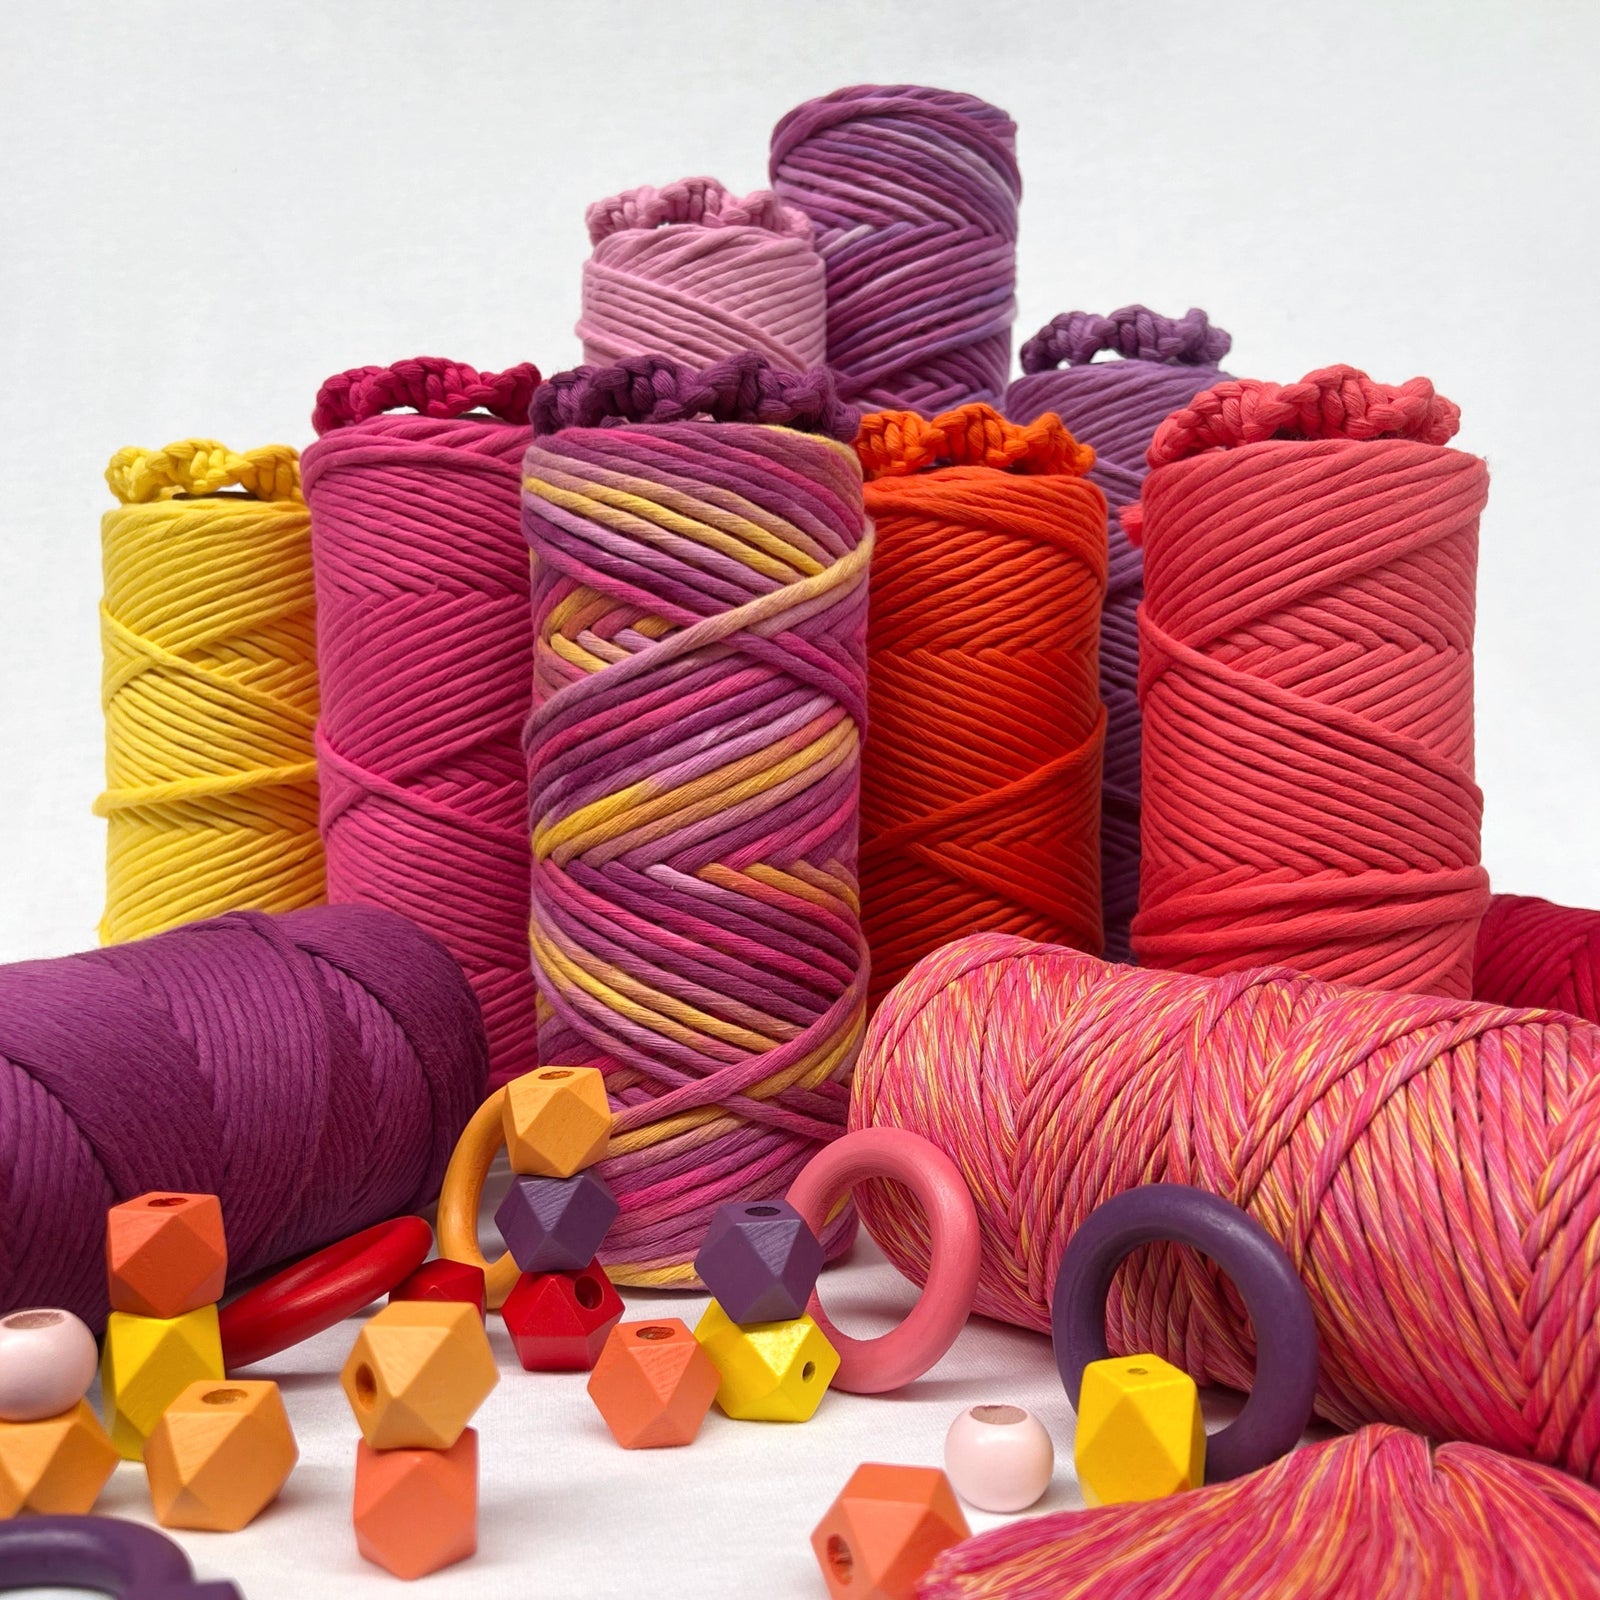
I have chosen to use five different colours for a fun effect. This yarn will wrap around you rope to create a textured effect.
We will use the following lengths from outside to inside curve in our rainbow.
14m – 13m – 12m – 11m – 10m
You can use any yarn here, if it is thinner than shown you will need to add additional length, if doing so, its advised to work straight from the ball and not snip your lengths.
I have used a fun Cotton Frizz ribbon in natural to add fun texture, interest and articulation to this rainbow. Have fun, experiment with your yarn collection or visit a thrift shop to see what treasures you can find!
Fibre Materials |
Large Curve -to- Small Curve |
||||
Rope |
64cm |
56cm |
48cm |
40cm |
34cm |
Yarn |
15-18m |
13-15m |
12-15m |
11-13m |
10-12m |
Step Three: Attaching Yarn to Rope
You may be able to slightly see your initial overhand knot and the snipped tail; this is the back of your piece and will not be on display.
Step Four: Sewing your curves together
Ensure that you are working on the back of your piece
Take your small curved needle and a length of cotton thread; you will sew every rainbow to its neighbour. Ensure your tension is tight, we wish for the curves to be as close as can be to each other.
If you do not have a curved needle a regular one will be fine, however a curved one works magic here.
Step Five: Finishing your Rainbow
Take your comb and brush out the unwrapped 20mm rope that is at the bottom of your rainbow. The fluffier the better! Snip to suit your desired look.
If you wish, sew a small split ring at the back of your rainbow to hang.
And that’s it!
What a beautiful creation you've crafted. What colour will you do next!?
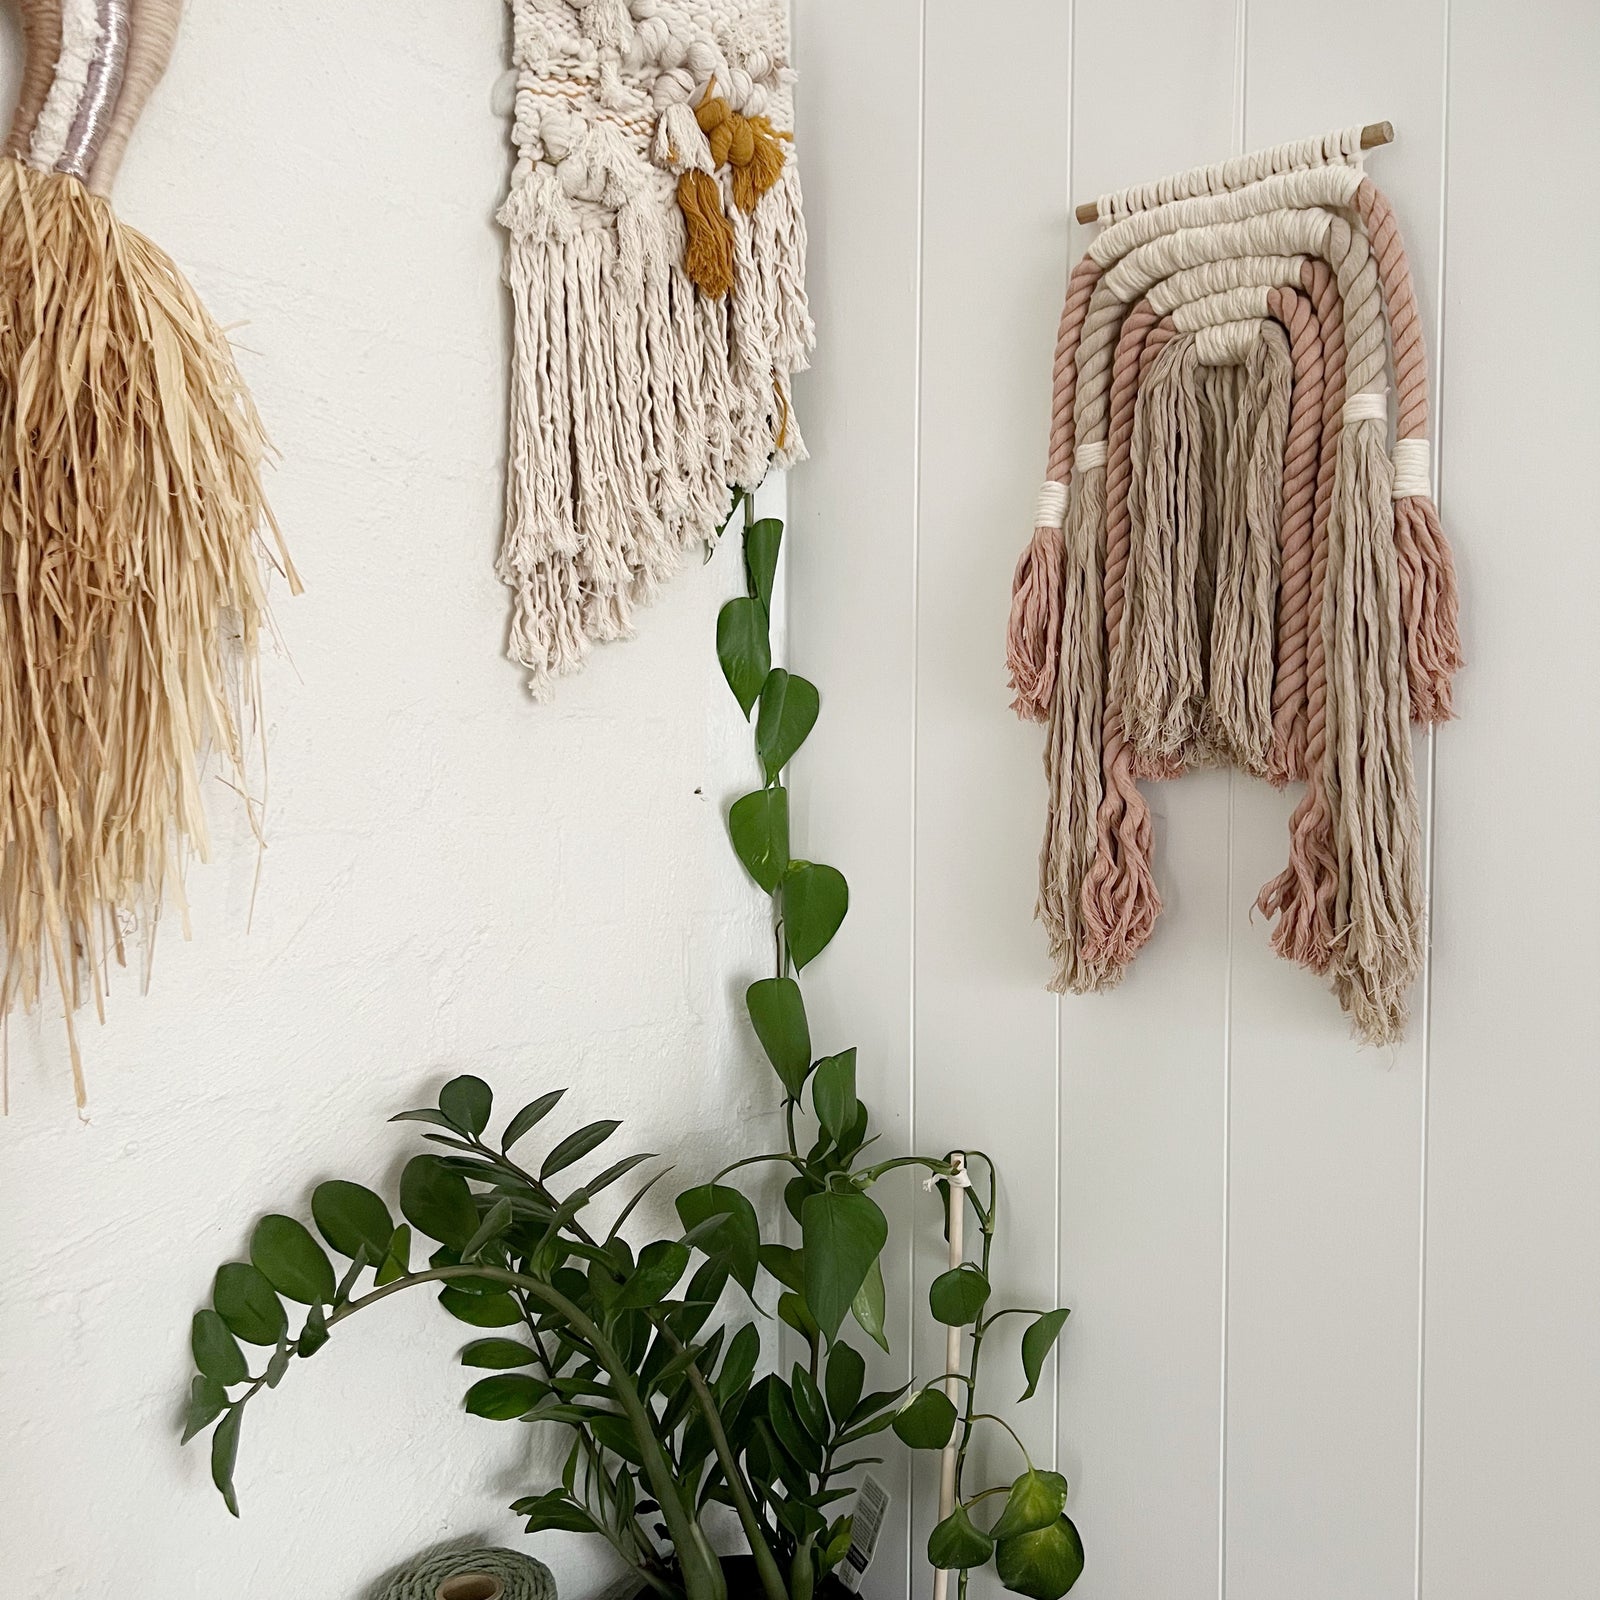
I know you will love your work. Once you have made one i know you will want more! Try switching up your chosen fibres to create a new look. Or change the shape of your rainbow to create a more personalised look. Once you are confident with this technique it is time to have some fun with the fibres, there are hundreds to choose from with all the colours of the rainbow available!
I recommend trying a silk, cotton string and metallic next. Personalising your fibre art is where the fun begins.
If you want to take the decision out of it we have a ready-to-go macrame rainbow kit here, this is jam-packed full of fibres and a printable patter (what a great gift too!)
If you are looking to explore macrame further (ps; I don't blame you!)
I have lots of easy to follow step-by-step patterns, DIY Macrame ready to go kits and the largest range of speciality fibre supplies in Australia to help you on your way.
And as a thank you for reading this blog and trusting your gut feeling to create.. feel free to use the code RAINBOW at the checkout for 5% off your first order storewide ;)
Happy Making,
Brydie
October 06, 2022 0 Comments
May 02, 2022 0 Comments
March 21, 2022 0 Comments
First time buying this product and I LOVE IT! Lovely to work with and good colour range.
High quality beautiful product. Great customer service, loyal customer here!